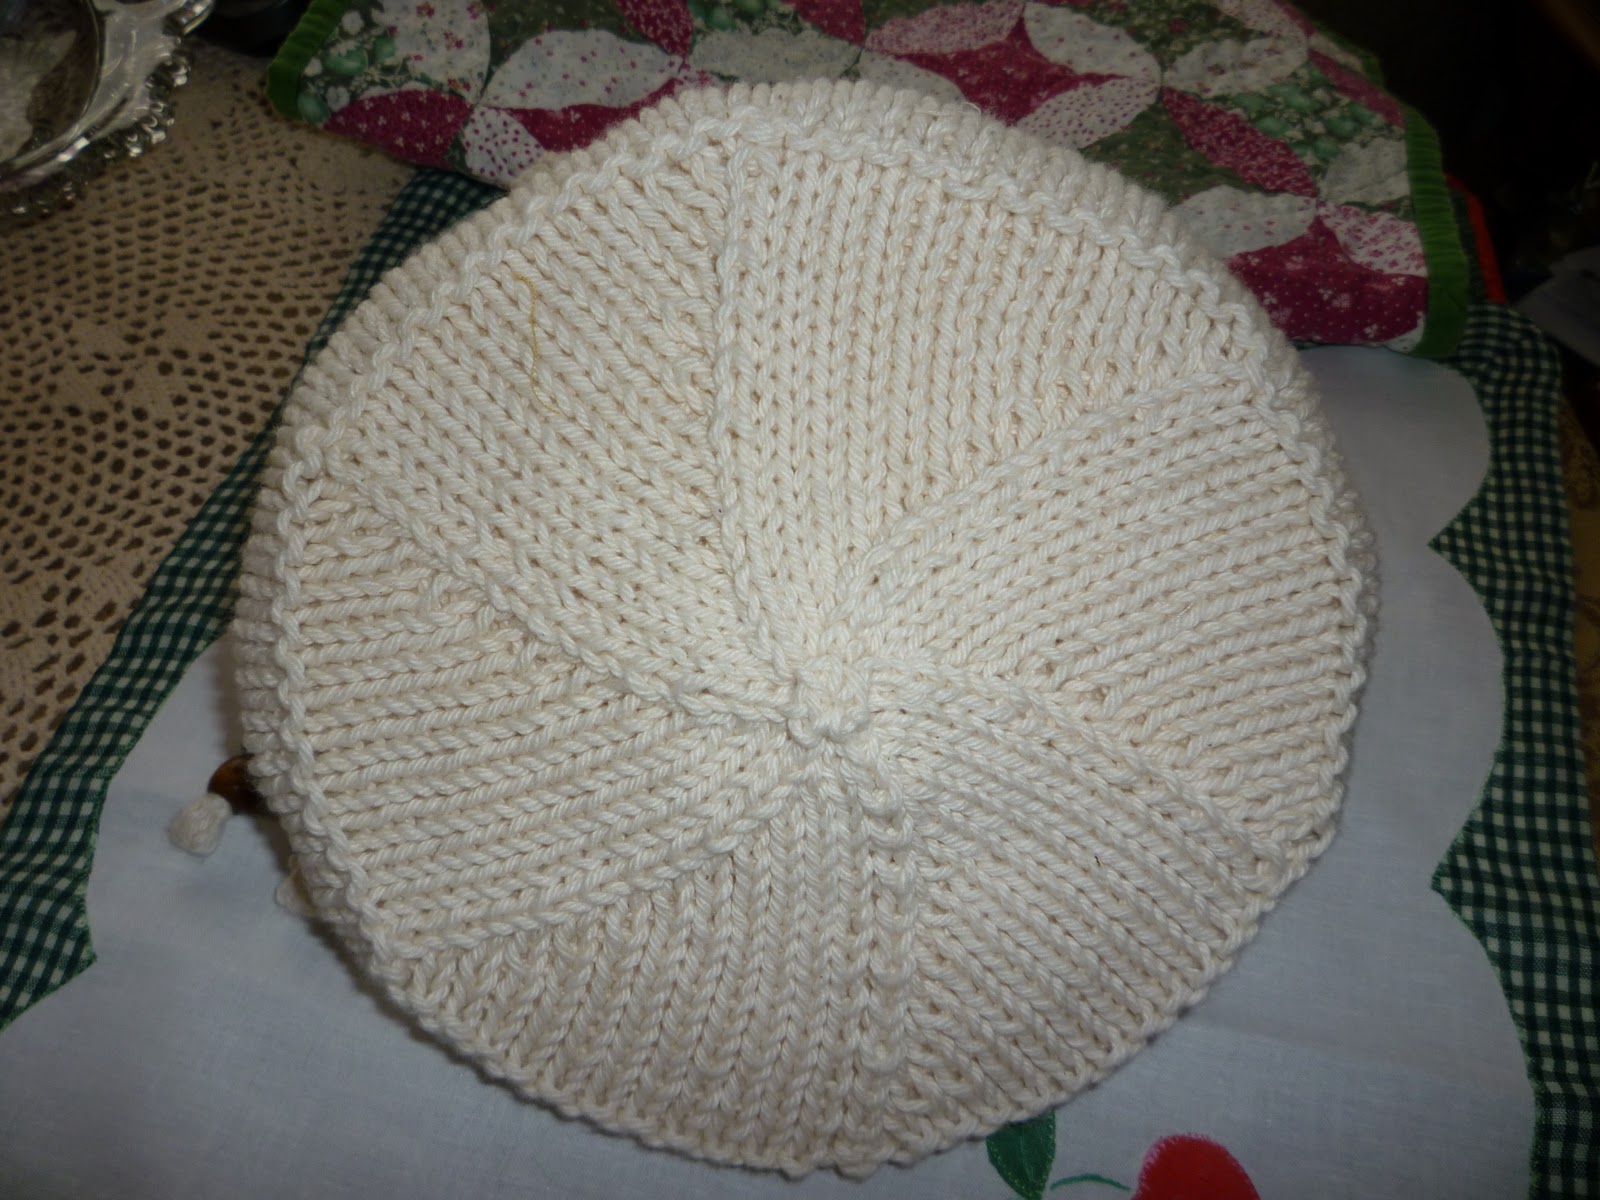
Well, wadda ya know... the epiphany I had earlier this morning actually worked! Here's a pic of the finished Pot Holder:
Not great, but for a proto-type it is ok. It will look better [i hope] after it takes a trip through the laundry and softens up a bit.
Here's what I did:
Cut: 6 squares ea 9.5" [because that's the ruler on the mat at the time...lol... slightly smaller would be fine, too.]. A 9.5" sq will equal finished size of about 8.5". AND, a square of batting, Insul-Bright, or what ever wadding you like to use. [This is also a good place to recycle old torn washcloths, cut up flannel shirts, etc.... waste not, want not.].
Press: Four of the fabric squares on the diagonal. Save for next step.
Layer: Sandwich a piece of batting in between TWO of the fabric squares; Right Sides OUT. Carefully layer the pressed triangle/squares corner to corner [see pictures]. DO NOT WEAVE as you did for the MugRugs... first lay two on oposing corners and then the other two.
Sew: Around outside edge. I used a 3/8" s.a. and trimmed to 1/4", but you do what is comfy for you. Next time I will use a WALKING FOOT... the Insul-Bright was very poofy and things didn't line up as well as I hoped they would.
Trim: Outside edges & zigzag all the way around. Here's a good place to try out your top-stitch thread color, which is what I did.
Turn, Smooth, Press, & Top Stitch: Fold diagonal edges back Cathedrawl Window style and TOP STITCH in place. Voila! DONE! Enjoy your binding-less potholder. The whole thing took about 45 minutes and that's 'cause I had trouble re-threading the s.m. needle! lol.
Here are my step-by-step pics:
Have a nice day,
Hugs,
Cyn; -)